Hat Case
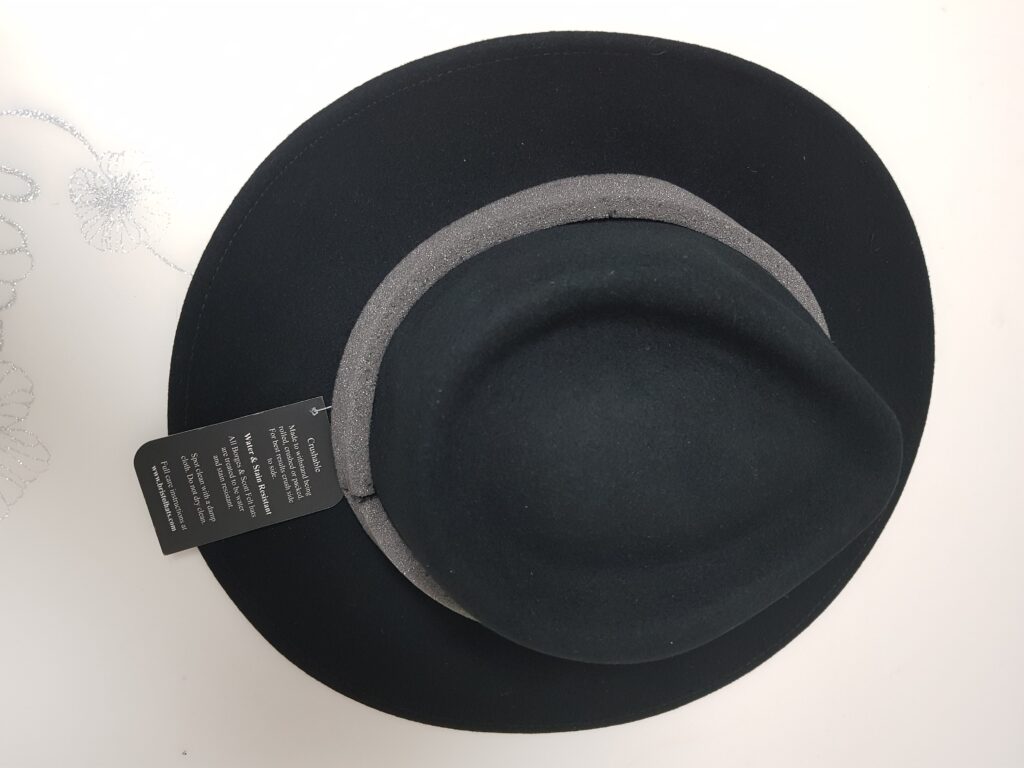
I ordered a Borges & Scott wool felt hat and I wanted to have a hat case for storing it in proper manner.
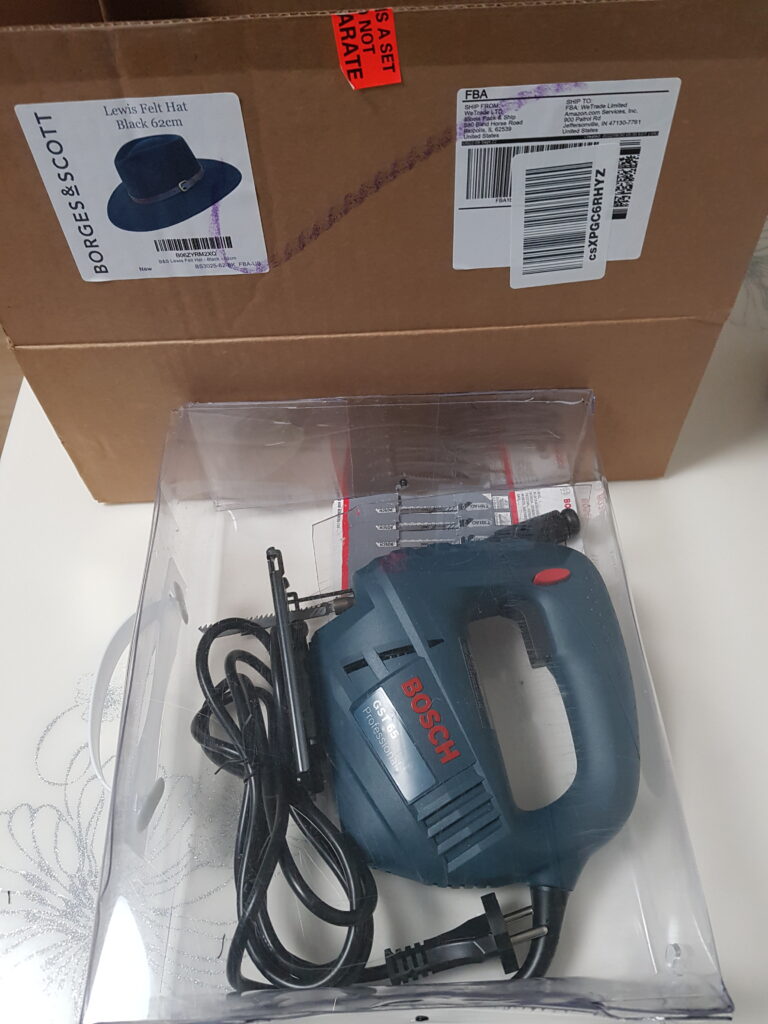
Above is an PVC sheet tool storage box I created. I chose a common dimension that would fill all of my power tools and made the same box for each power-tool. See the link “PVC Sheet Tool Cases” for more details. Therefore, I decided to make the same type of PVC sheet box for a “Hat Container” but only enlarge the dimensions for this project.
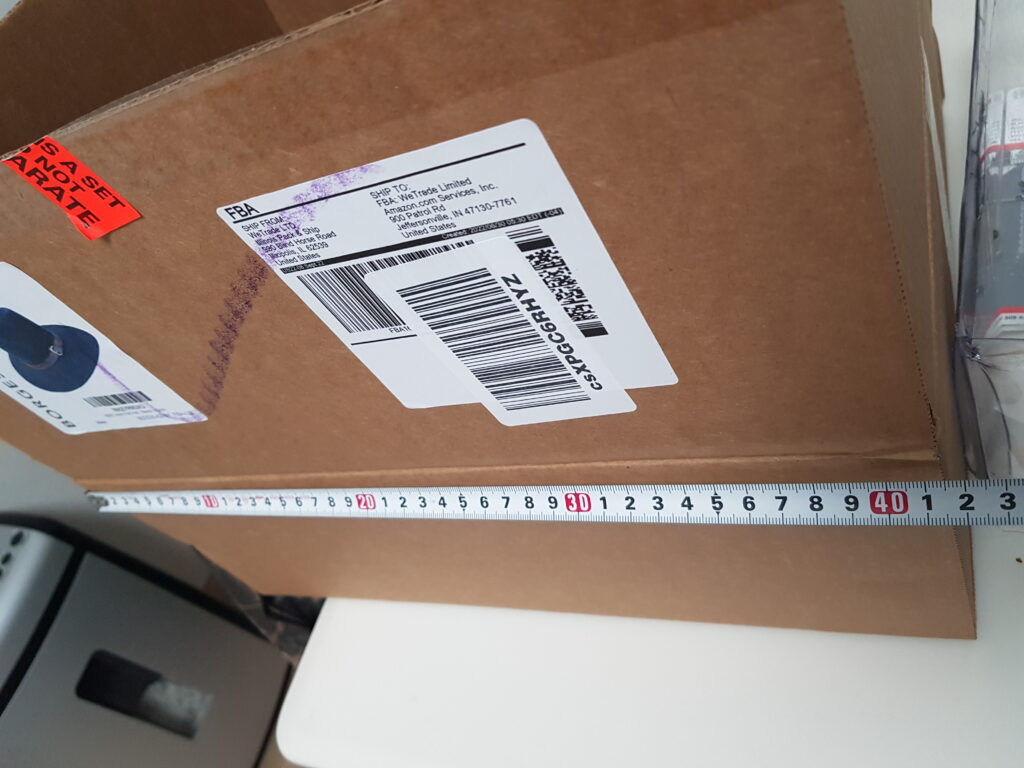
I started off by measuring the dimensions of the shipping box which the hat arrived in. I wanted to make it higher however, so I added some height to the vertical measurement.
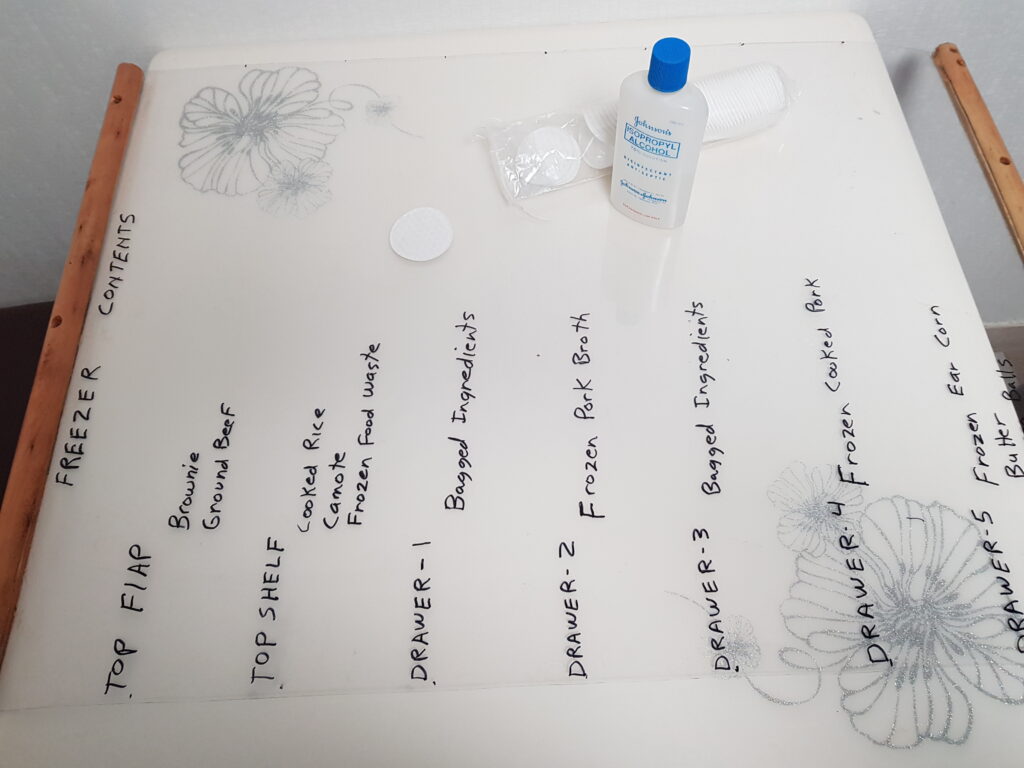
I used my previous creation as a marker board to do my sketches and calculate the dimensions of my new acrylic sheet box. See the link “PVC Sheet Marker Board” and “PVC Sheet Kneading Board” and “PVC Sheet Organizer Board” for more details. The acrylic organizer board was repurposed for this project, so I could do my calculations on it as a marker board instead.
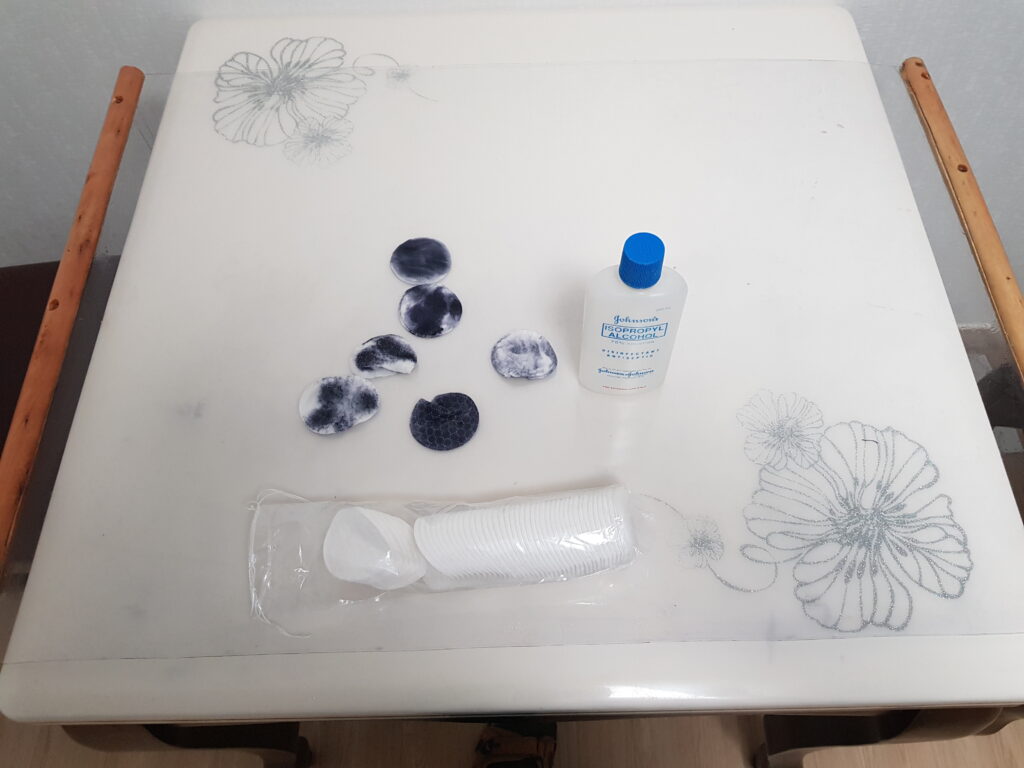
Above, I used some alcohol and some cotton patches and simply wiped off the writing so I could use it for a new project. This is how things we make can become multipurpose as we use them for different projects.

Here I scribbled out a quick calculation using markers on this former PVC sheet organizer board. This is a good surface for writing because the sketch can be made bigger than on a sheet of typing paper. Mistakes or change of plans can be done easily by wiping off the surface with alcohol with an alcohol patch.
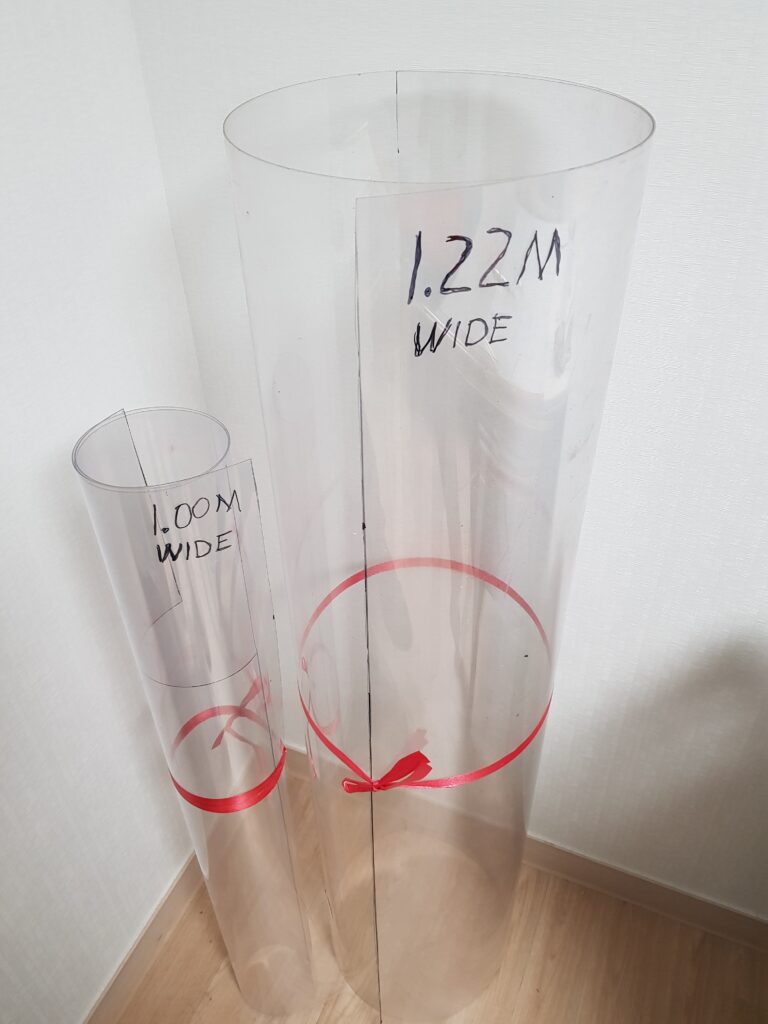
This PVC sheet material comes in two sizes with one being 1.00 meters wide and the other being 1.22 meters wide.

This 1.22 meter wide PVC sheet is the larger of the two rolls available at this hardware store. I need the larger one in order to make the increased size of the hat-case, which was larger in size than the former tool boxes I made out of the same material.
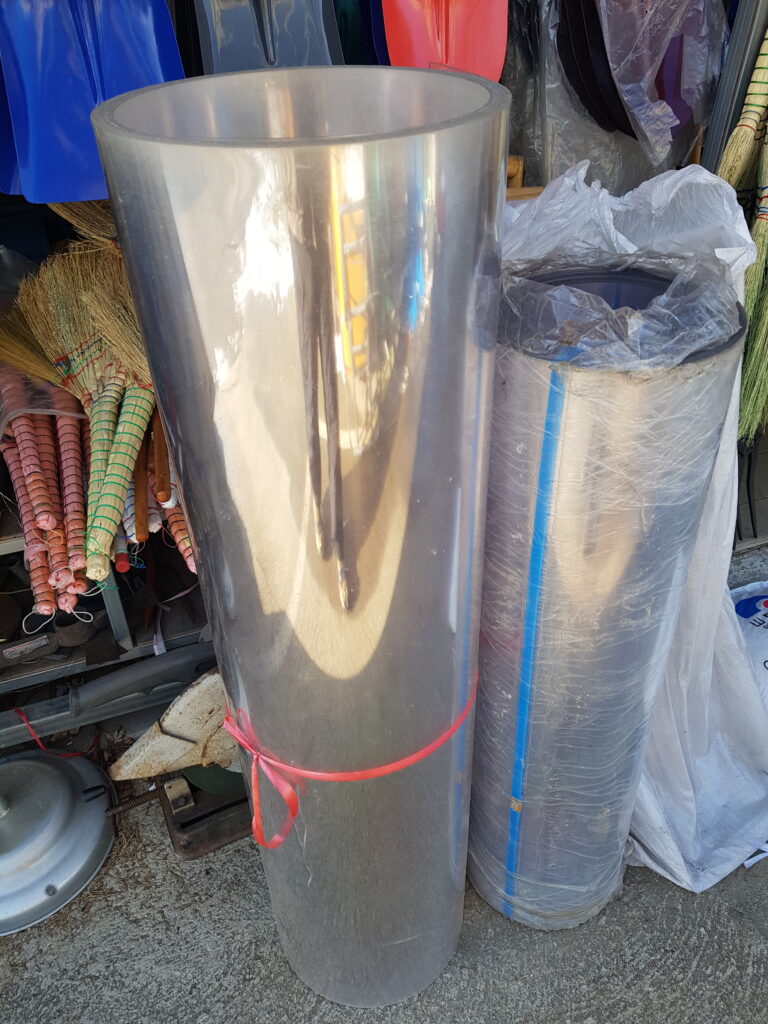
The PVC sheet roll on the left is 1.22-meters wide and the one on the right is 1.00-meter wide and are 1mm thick.

Above, I drew the layout for the box pattern on the marker board as seen above. I am following the same design used on the toolbox, only I have increased the dimensions to create a bigger box.
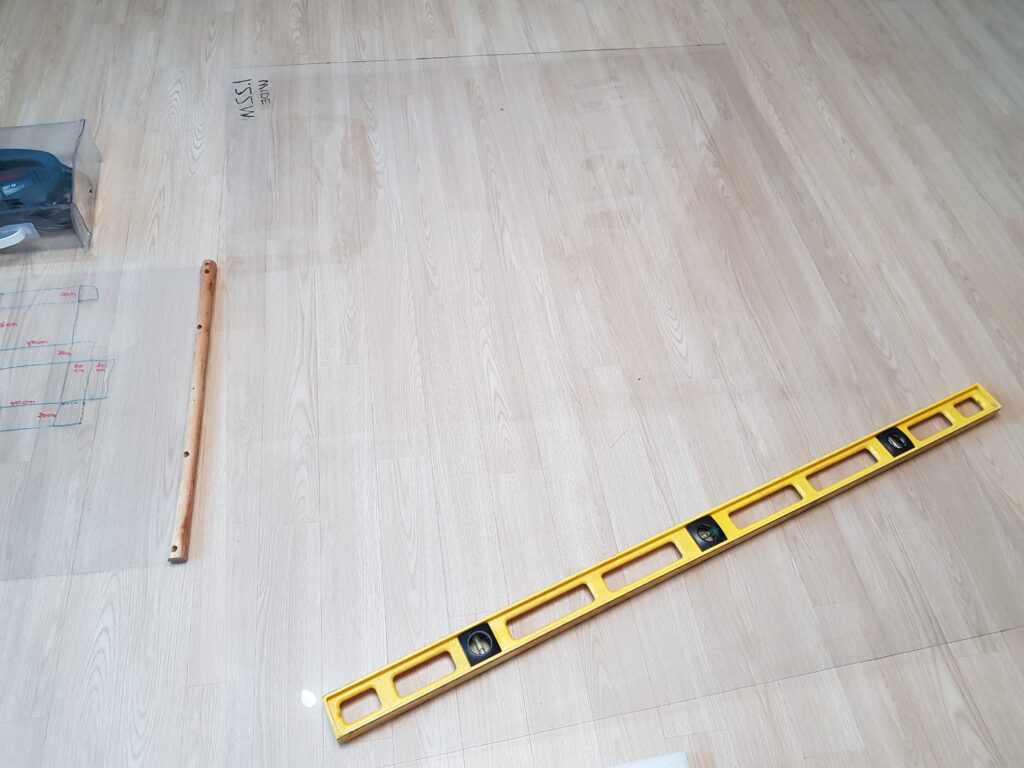
I laid out the PVC sheet and used a long straight edge (long carpenter’s level) to draw the lines upon the PVC sheeting.
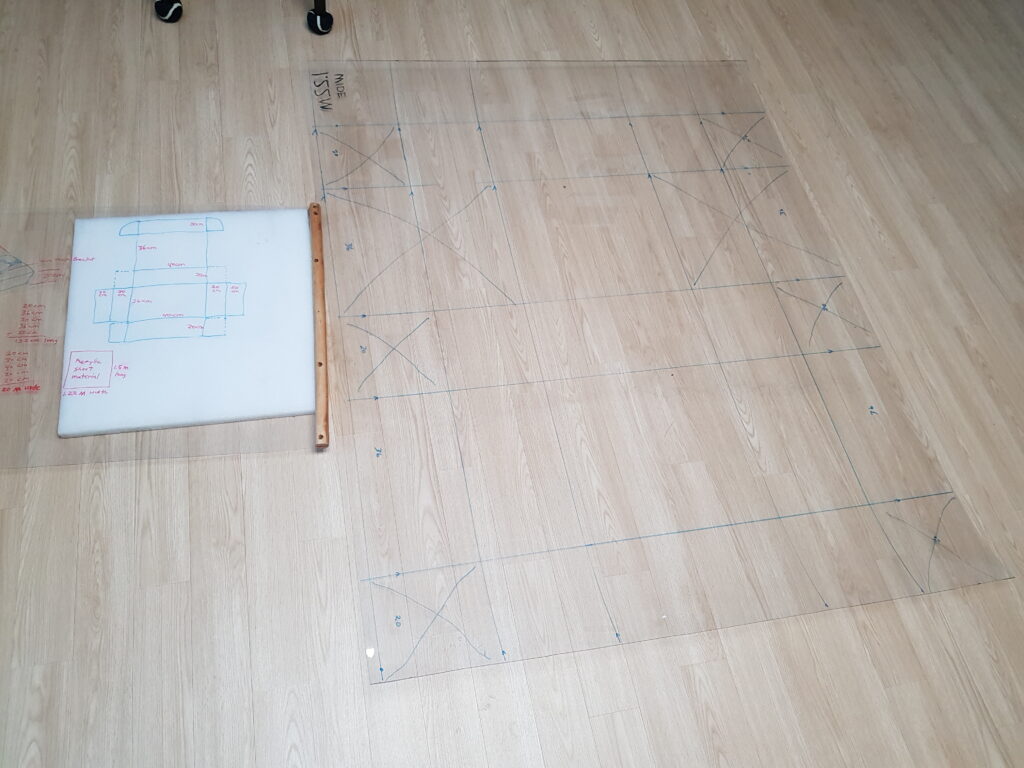
After laying out all of the folds by drawing lines, I then marked the parts that would be cut out and discarded with an X.

After all of the parts were cut out and discarded then only those parts which will be folded into the shape of a box will remain.

The PVC sheet box pattern was so large and tall that it could not photographed vertically so I used a slat to hole it in an upright position.
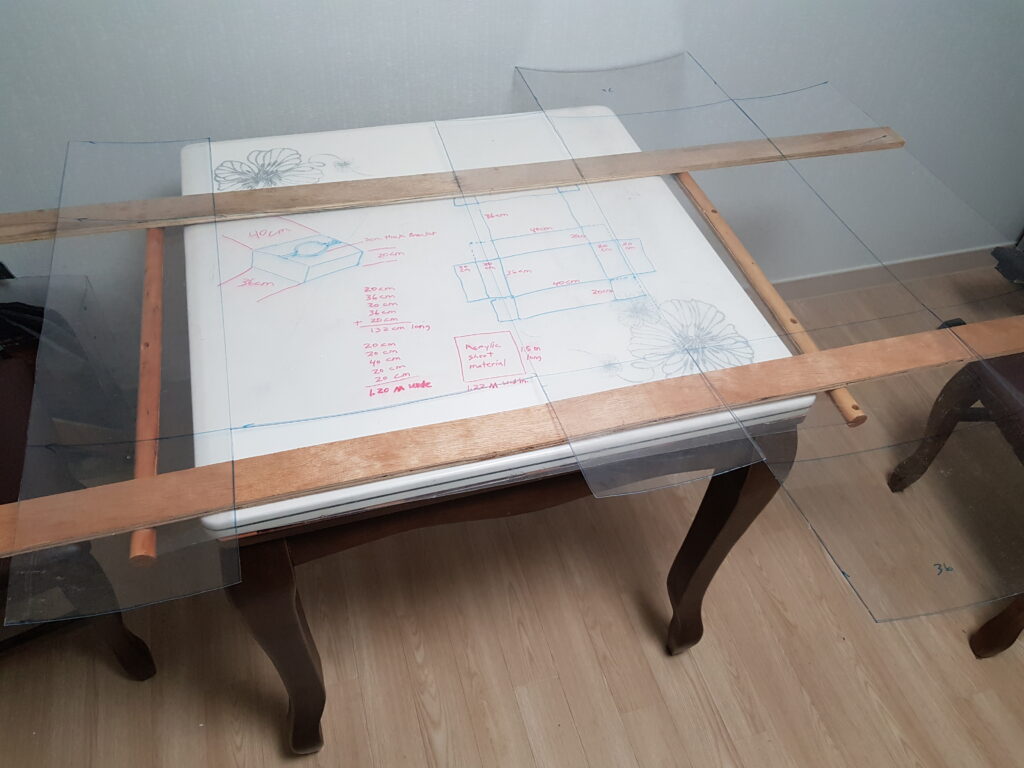
The PVC sheet pattern was large that I needed to support the work on my table using slats.
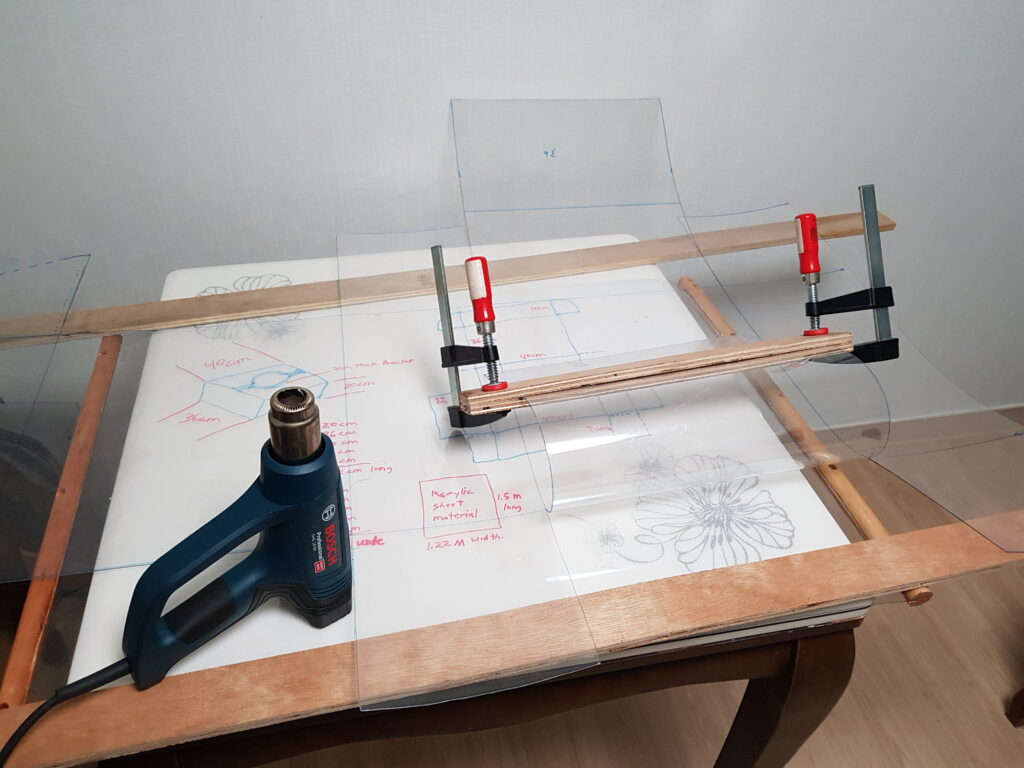
I used to slats clamped together on the ends and then heated the PVC sheet with a heat-gun along the line I wanted to bend.

I made bends in the PVC sheet using slats and the heat-gun and thus folding the parts together to create a box shape.
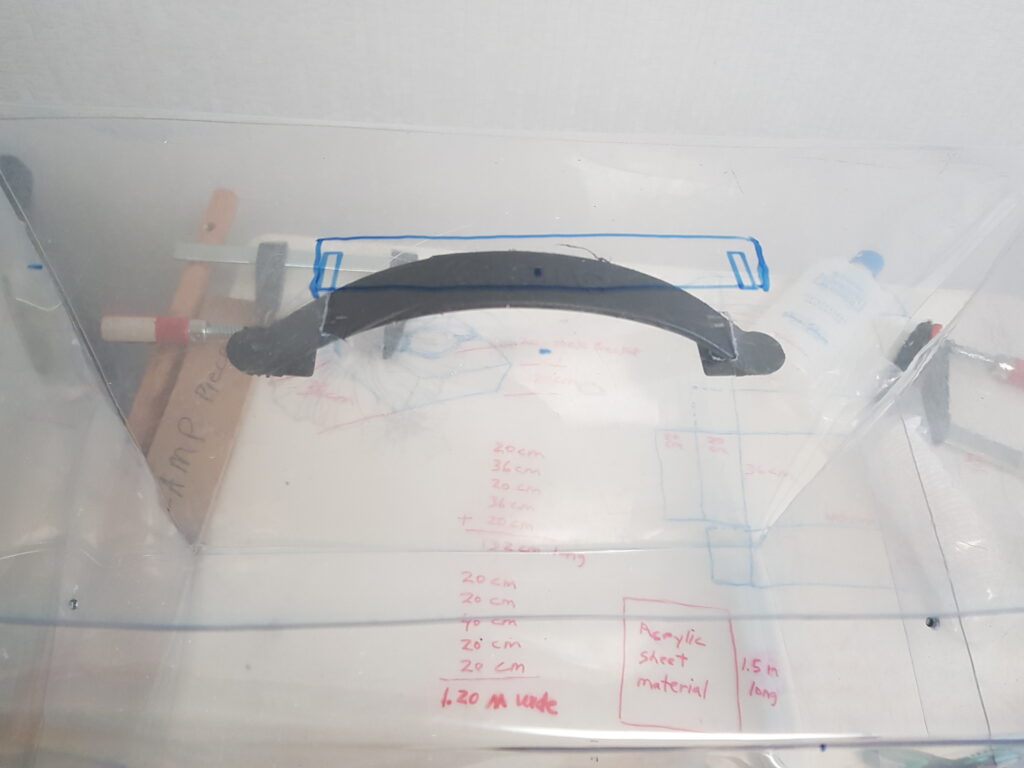
I used a plastic handle that came off of my Synology NAS shipping box. I cut some holes and then pushed the handle ends into the holes to attach the handle to the front of the box.
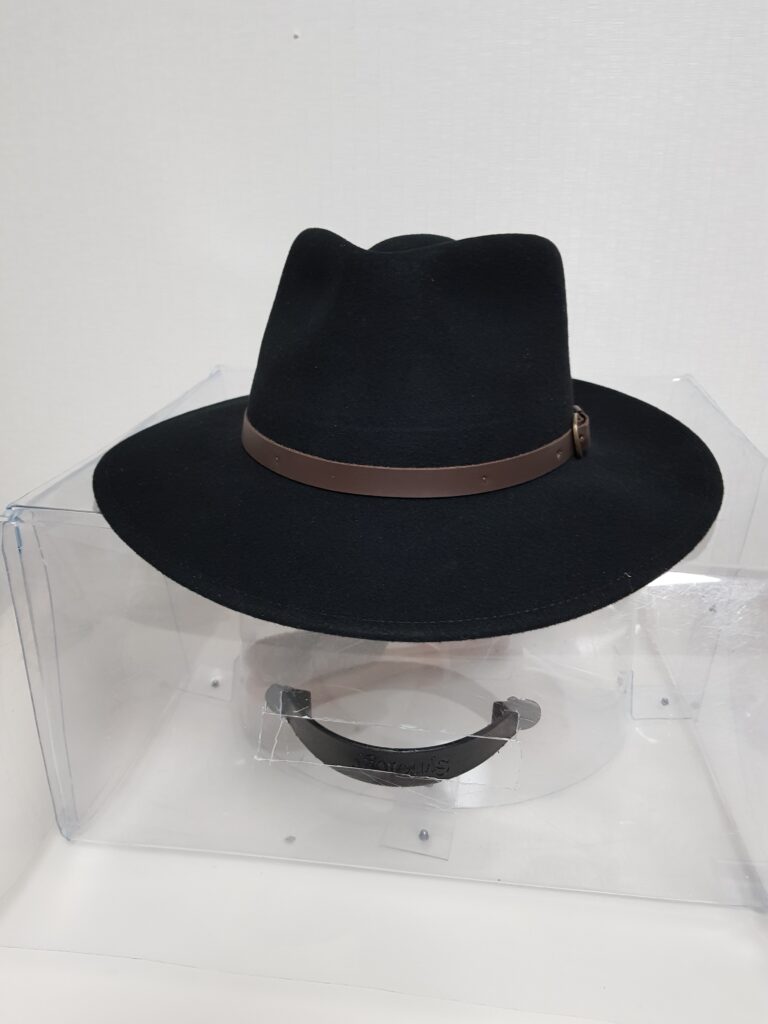
I wanted to create a case with the brim of the hat facing bottom side up with support around the perimeter of the crown. I therefore created an elliptical shaped support within the box to fit around the shape of the crown.
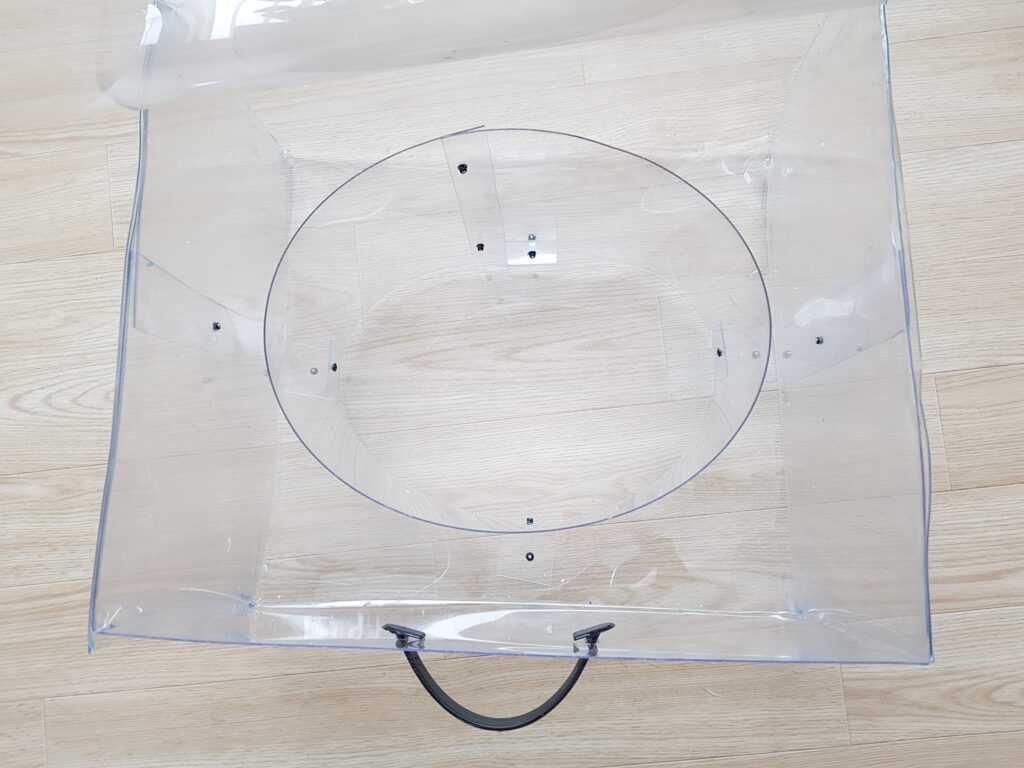
I created a circle out of some scrap PVC sheet and riveted it together. I made some brackets and attached them to the bottom of the box and used these to pull the round-shaped support to force it into an oval shape to match the contours of the oval-shaped crown.

I drilled some small holes around the edge of the hat support and used these to attach some cable sleeve to serve as a means of protecting the hate from the sharp edges of the PVC sheet support.
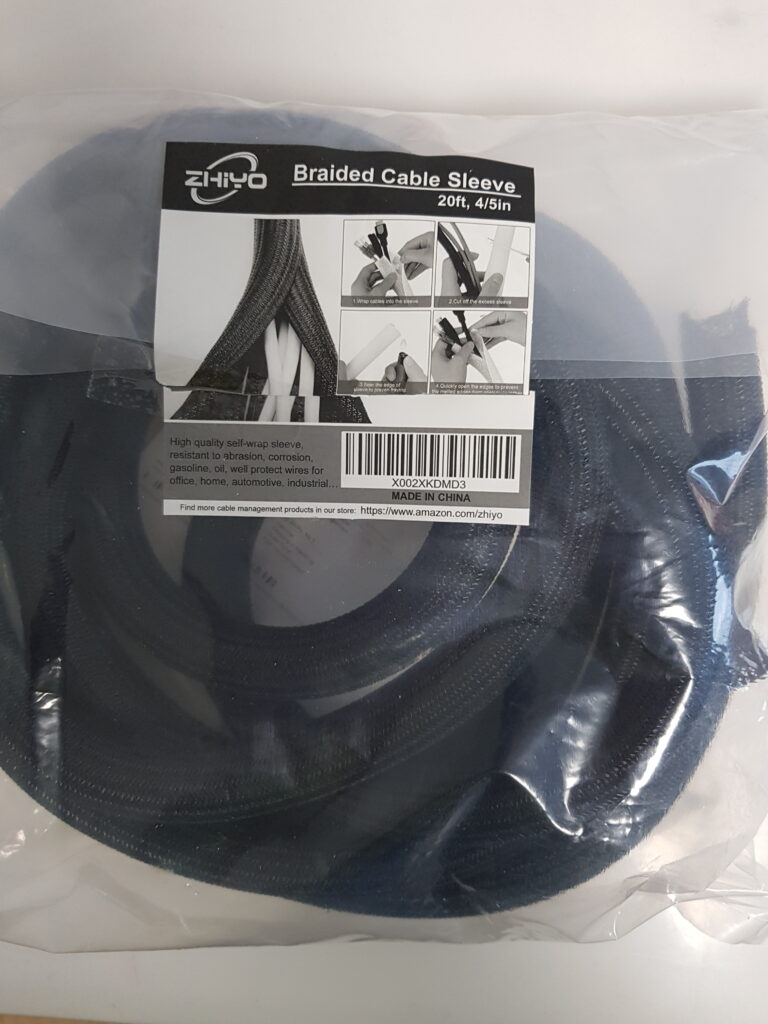
I had a lot of extra braided cable sleeve left-over so I utilized this material to cushion the hat from the sharp edges of the PVC sheet support.

Normally, the braided cable sleeve is used to bundled computer cables together in order to keep the cables neatly together as seen above. This was not created for cushion but it still works. Our boys will have to learn who to utilize whatever materials they can find in order to accomplish whatever purpose they might need done.

Above the hat support is completed with the attached padding around the edge.
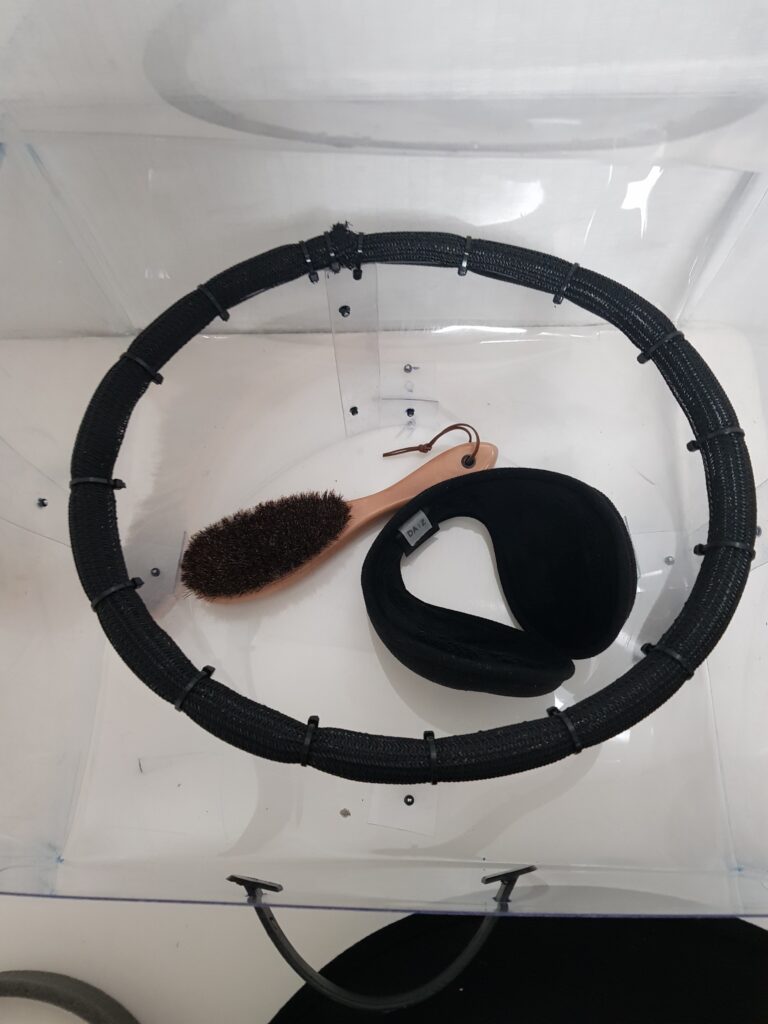
There is some extra space within the hat support for accessories like a horsehair brush used for cleaning lint from the wool-felt hat and also some ear muffs that can be worn under the hat in extremely cold weather.
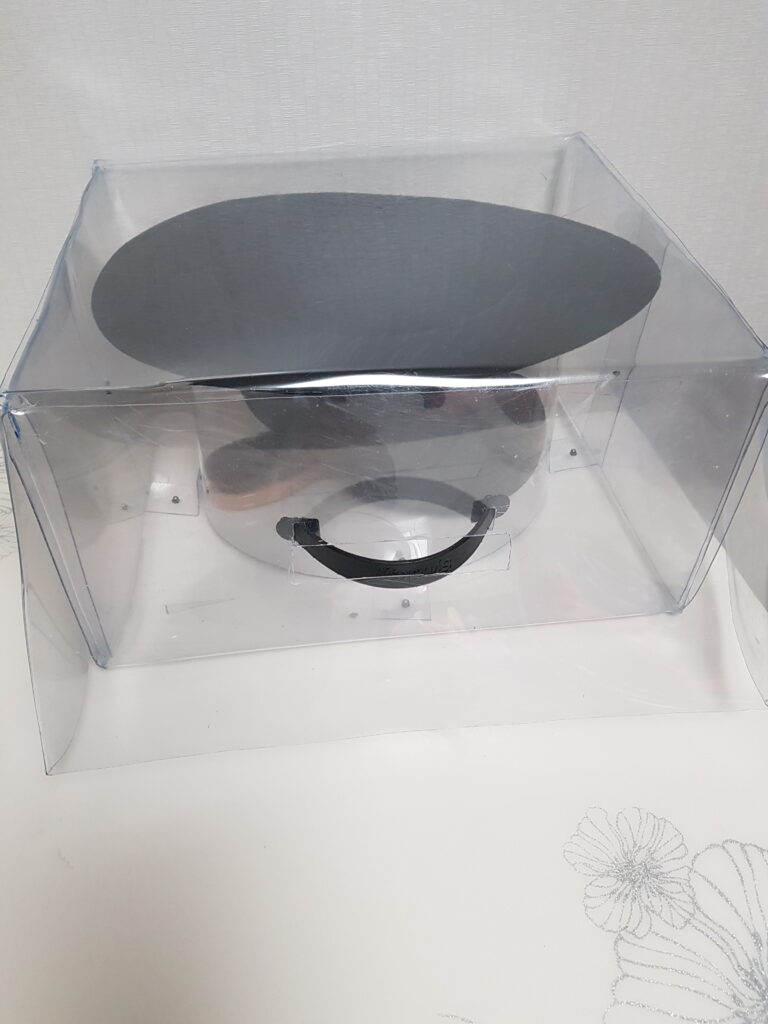
This storage box allows for accessories to be stored in the space under the crown. This is why I increased the size of the box over what the shipping carton was. This box was not made for travel but for hat storage at home.

The hat support allows the hat to be stored with the bottom of the brim facing the top of the box. It is secure because there is little space between the hat and the lid above it.
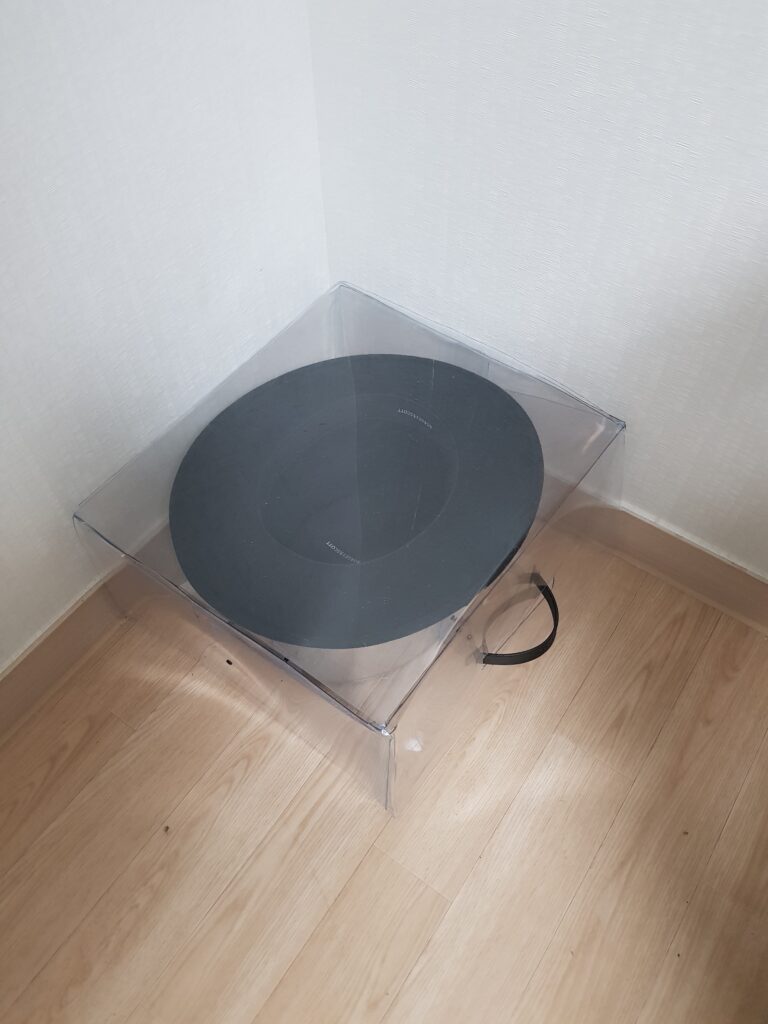
This hat case can be used on the floor or on a shelf or table, (wherever is convenient).

The box also can be placed on a shelf. This hat storage box keeps the hat free from dust and lint and is waterproof in case water is spilled on it.
